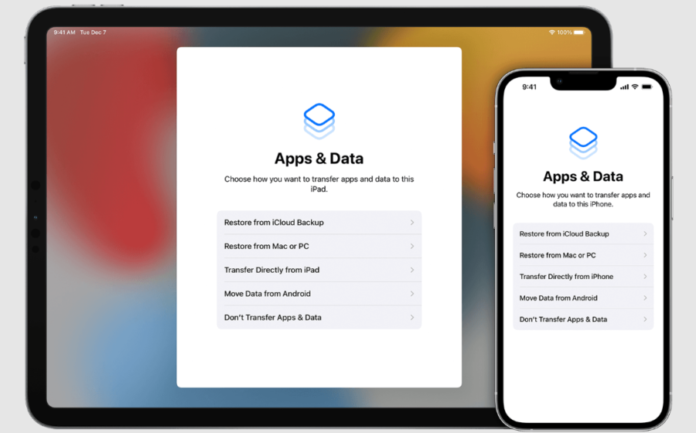
Backing up your iPhone to the cloud is a crucial step in protecting your data and ensuring that you don’t lose important information in case your device is lost or damaged. The process of backing up your iPhone to the cloud involves transferring a copy of your device’s data to a remote server, where it can be accessed and restored at a later time.
This allows you to easily restore your device to its previous state in case of an emergency. In this article, we will focus on using Apple’s iCloud service, which comes pre-installed on all iPhones and is easy to use, among the various cloud services available for iPhone backup.
We will explain the steps involved on how to back up iPhone to cloud using iCloud. By the end, you will have a clear understanding of how to back up your iPhone to the cloud and the benefits of doing so.
Easy Method How to Backup iPhone with iCloud
You can create backup of your iPhone on iCloud mainly two different methods. The first is Automatic iCloud backup and the second one is Manual iCloud backup. Let’s explore them in detail.
Method 1: Automatic iCloud Backup
Automatic iCloud Backup is a feature that allows you to automatically back up your iPhone to the cloud every time your device is connected to a Wi-Fi network and the device is locked. Moreover, this method is convenient as it requires minimal effort on your part and ensures that your data is always backed up.
Instructions
- Step 1: Firstly, connect your iPhone to a Wi-Fi network: Before you begin the process, you will need to make sure that your iPhone is connected to a Wi-Fi network. This is essential as iCloud backup requires an internet connection. To connect to a Wi-Fi network, go to Settings then Wi-Fi and select the network you want to connect to. Enter the password for the network if prompted. How to backup iPhone to iCloud.
- Step 2: Secondly, open the Settings app on your iPhone: Once your device is connected to a Wi-Fi network, open the Settings app on your iPhone. This can be found on the home screen or by swiping down from the top-right corner of the screen and searching for “Settings.”
- Step 3: Thirdly, tap on your name at the top of the screen: In the Settings app, tap on your name at the top of the screen.
- Step 4: Tap on iCloud: In the iCloud settings, tap on iCloud. This will take you to the iCloud settings where you can manage your iCloud account and services.
- Step 5: Tap on iCloud Backup: In the iCloud settings, tap on iCloud Backup. This will take you to the iCloud Backup settings where you can manage your iCloud backups.
- Step 6: Turn on iCloud Backup: If iCloud Backup is not already turned on, tap the toggle switch to turn it on. This will allow your device to automatically back up to iCloud when connected to a Wi-Fi network and the device is locked.
- Step 7: Tap on Back Up Now: Once iCloud Backup is turned on, tap on the “Back Up Now” button to start the backup process. This may take a few minutes to complete, depending on the amount of data on your device.
Method 2: Manual iCloud Backup
Manual iCloud Backup is a method that allows you to manually initiate a backup iPhone with iCloud by connecting your device to a computer and using iTunes. Furthermore, this method is useful if you want to manually select the data that you want to back up. Or you can perform a backup immediately instead of waiting for the next automatic backup.
- Step 1: Connect your iPhone to a Wi-Fi network: Before you can begin the backup process. You will need to make sure that your iPhone is connected to a Wi-Fi network. Besides that, it is essential as iCloud backup requires an internet connection. To connect to a Wi-Fi network, go to Settings > Wi-Fi and select the network you want to connect to. Enter the password for the network if prompted.
- Step 2: Connect your iPhone to your computer: Using a lightning cable, connect your iPhone to your computer. Install iTunes on your computer system.
- Step 3: Open iTunes on your computer.
- Step 4: Click on the iPhone icon that appears in iTunes: In iTunes, click on the iPhone icon that appears. This will take you to the iPhone management screen where you can manage your device and its data.
- Step 5: Click on the Back Up Now button: On the iPhone management screen. Click on the Back Up Now button.
- Step 6: Verify the backup: Once the backup is complete. You can verify it by going to iTunes > Preferences > Devices. You will see the date and time of the latest backup.
Both methods are effective in backing up your iPhone to the cloud using iCloud. And they provide an easy way to keep your data safe. Additionally, you can choose the method that best suits your needs and preferences.
Additional Method
If case if you are wondering if there is a method on how to backup iPhone without iCloud then yes there is. Subsequently, you can also create backup of your iPhone using iTunes on your computer system. You can easily back up your iPhone using iTunes. Here are the steps to back up your iPhone with iTunes:
- Connect your iPhone to your computer using a lightning cable. You need to make sure that iTunes is on your computer.
- Open iTunes on your computer.
- Click on the iPhone icon that appears in iTunes.
- Now, click on the Summary tab.
- Click on the Back Up Now button. This will start the backup process.
- Wait for the backup process to complete. Depending on the amount of data on your device, this may take a few minutes to complete.
- Verify the backup by going to iTunes > Preferences > Devices. You will see the date and time of the latest backup.
Conclusion
Backing up your iPhone is essential to protect your data. And to ensure that you don’t lose important information in case your device is lost or damaged. Even so, there are different ways to back up your iPhone, including iCloud and iTunes, each one have their own advantages and disadvantages. In this article we have mentioned the methods used on how to back up iPhone as well as step by step instructions.
More Stories: How to Stop Downloading Messages from iCloud on iPhone


